WSL route
My first suggestion would be to install WSL (Windows subsystem for Linux). The installation instructions are here. Once you install the Linux operating system of your choice, you can open a terminal, and simply ssh to the server of your choice.

When using WSL2 under windows:
- Running graphical applications is a bit involved. First, you need to install an X11 client. I suggest VcXsrv, but Xming is also popular. Then you have to allow X11 connection between the virtual IP of your WSL and Windows through Windows Firewall. This is a bit involved. The instructions can be found here.
- Filesystem between WSL2 and Windows are isolated. Linux side mounts the Windows drive automatically (i.e. in
/mnt/cin Ubuntu). On the windows side, you can connect to the Linux side by typing\\wsl$in the address bar of file explorer. - There are better terminal emulators than what Windows provides. If you have enough resources, I suggest Terminus. If you are more resource limited, Conemu or Alacritty are great alternatives.
Non-WSL solution
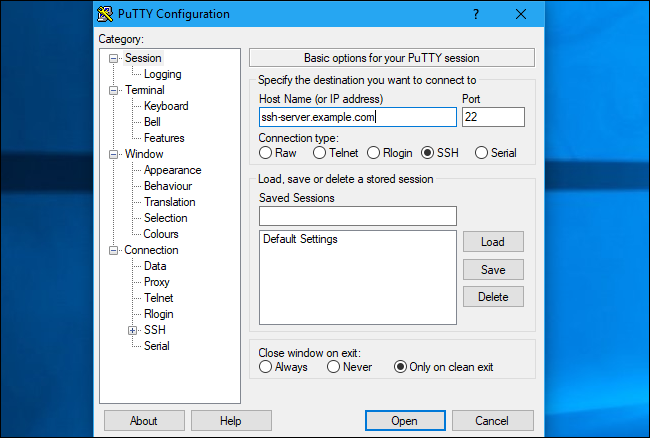
Of course you can also do without WSL. Download PuTTY and launch it to get started.

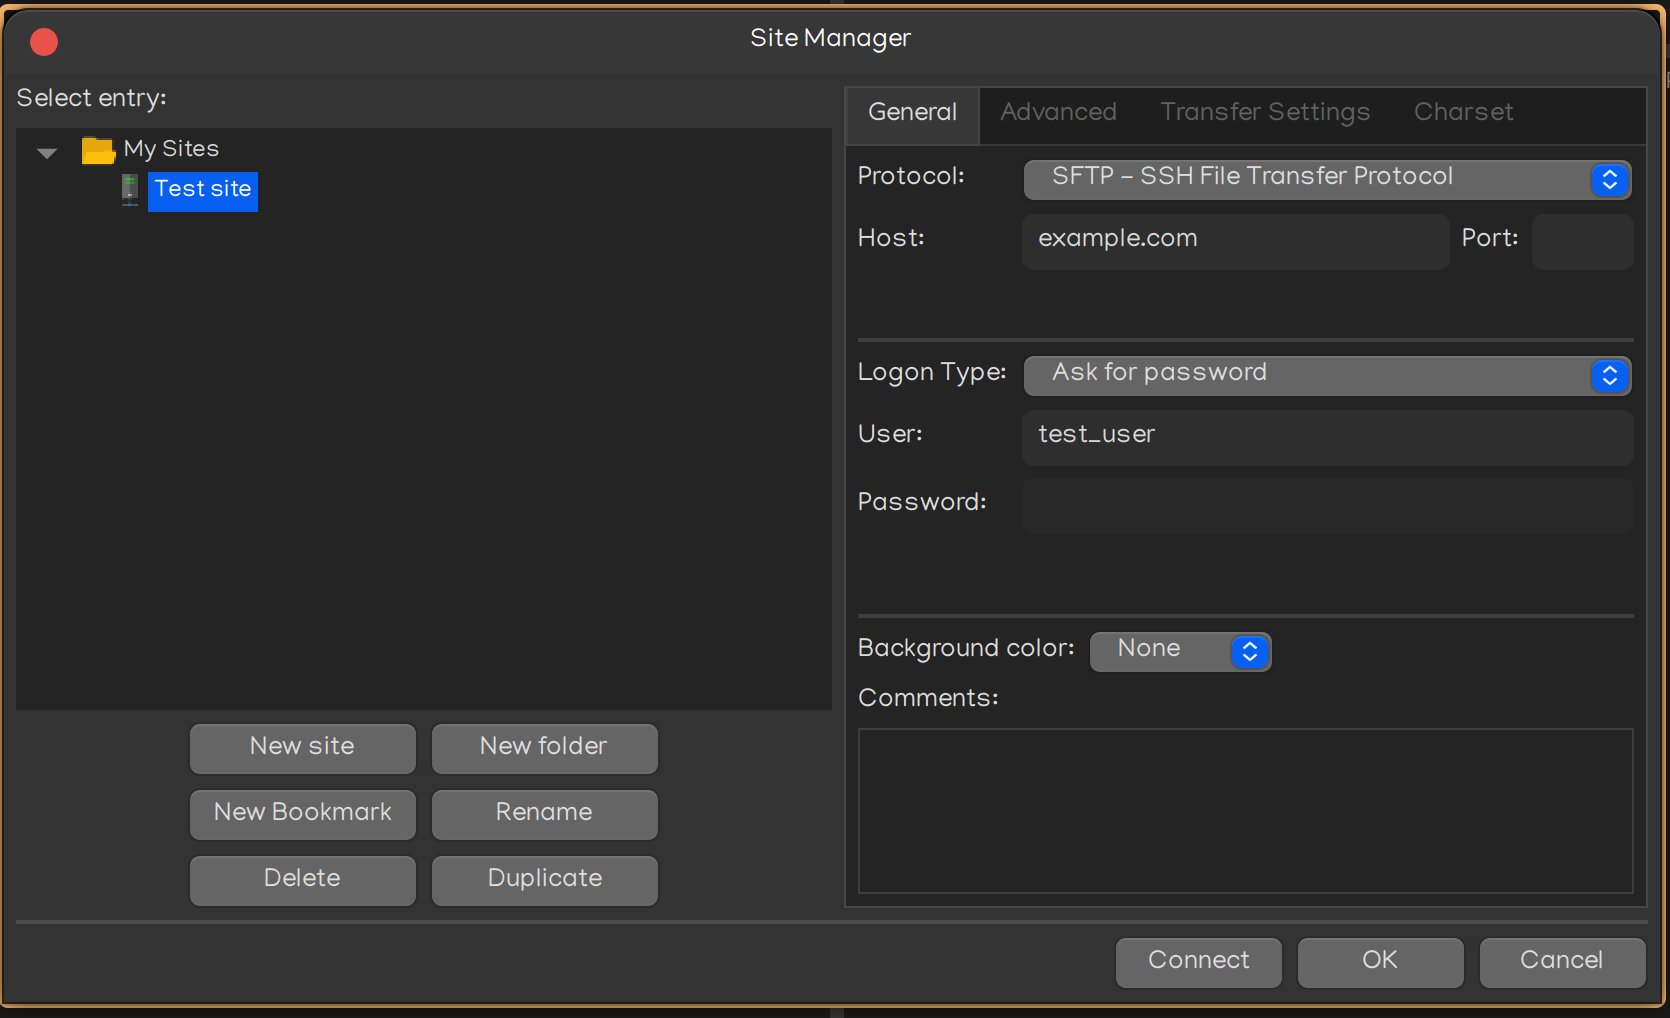
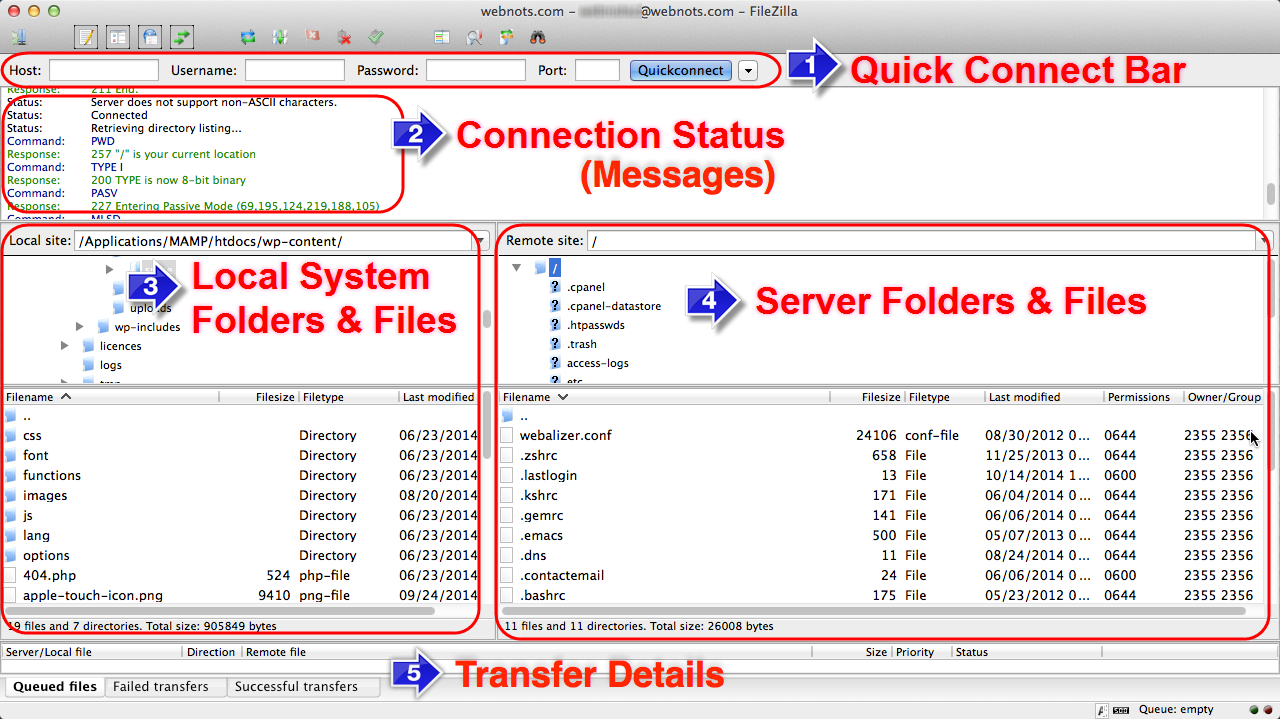
For transferring files, you can use FileZilla. Once you installed it, you have to connect to the server using "sftp" protocol. You can define a new site for this purpose.

